In our last lesson, we talked about what file format to work with and why, as well as some other general items of interest.
Today, we’re going to talk about cropping and screen aspect ratios.
If you have an older style monitor, you want to stick with the default of 4:3.
Somewhere around 2004-2005, monitor makers realized that widescreen would give a larger number in inches, while giving a smaller number of pixels (so they can charge more for less).
Generally speaking, these are in a ratio of 16:9 or 16:10.
To figure this out, take your screen’s resolution and divide it out. For example, my monitor is 1920×1200. 1920/16 = 120. 120 x 10 = 1200, so my monitor is 16:10, and that is what I should be using.
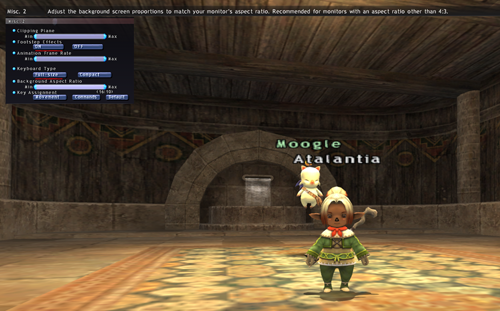
Aspect ratio is hidden in Config –> Misc 2.
Lets look at the effect this has.
16:10 (correct for my screen)

16:9 (close, but not quite right)

4:3 (default)

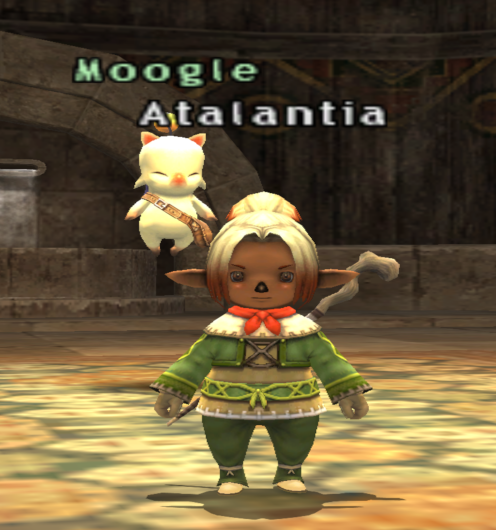
Hang on, lets take a closer look at the 4:3.

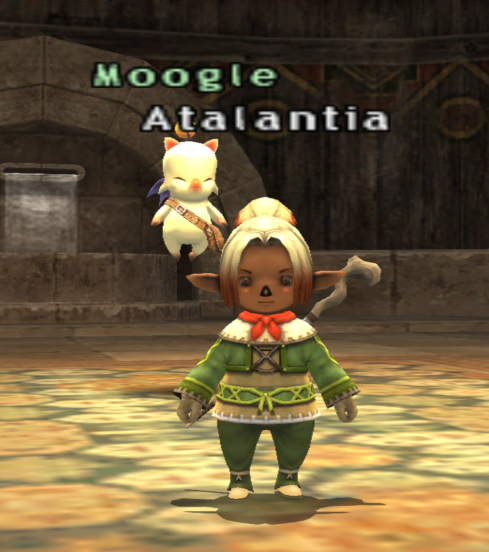
That is an overly fat taru. Especially considering it should look like this:

Aspect ratio does make a big difference.
The second lesson for today is to crop your screenshots.
There is no excuse. The GIMP is free and available for every platform, and Paint.NET is free and an excellent light weight photo editor for Windows. No excuses at all.
For the most part, I don’t care about your chat log or your health bar. I don’t care about the menu, your TP, the top bar, or the meter that shows up when you are in battle. This doesn’t include the windower stuff that I mentioned already that I don’t care about.
So please, crop and resize your images (in that order).
The final tip for today is to check your color settings.
Far too often I’ve seen what looks like it must be a monitor out of calibration, that gets compensated for via the video card’s control panel. What this does is creates an image that is very dark or very light to others, but looks normal to you.
If your video card puts out a dark image, and your monitor is set to display too bright, it looks fine to you, bur dark to everyone else. And the reverse is true.
Your best bet is really to double check with a factory-installed version of Windows. These are generally fairly close to good.
When in doubt, reset your video card control panel to default, then adjust your monitor accordingly. (I am guilty of this sometimes too)
However, this isn’t always bad. So be careful of ruining something that would be good.
Generally speaking (and this is the photographer in me) a slightly darker image is better than one that is slightly lighter. There is a reason that many photographers will underexpose their images by 1/3rd-1/2 stops. It is also easier to recover from an image that is a little too dark than one that has lost detail due to being too light. Slightly darker looks fine. In fact, it often produces a more comfortable image (or if you’d prefer, a warmer image).
Part 3 coming at some point shortly. I’ll finally talk about content. If it goes long, I’ll make a part 4.
